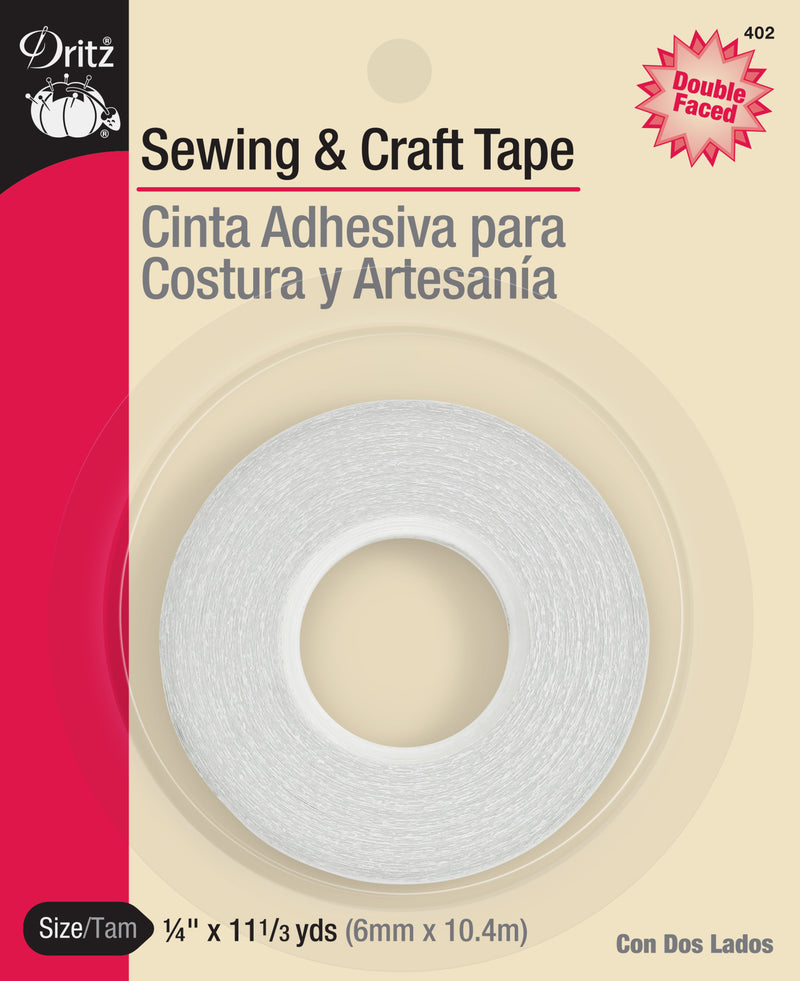
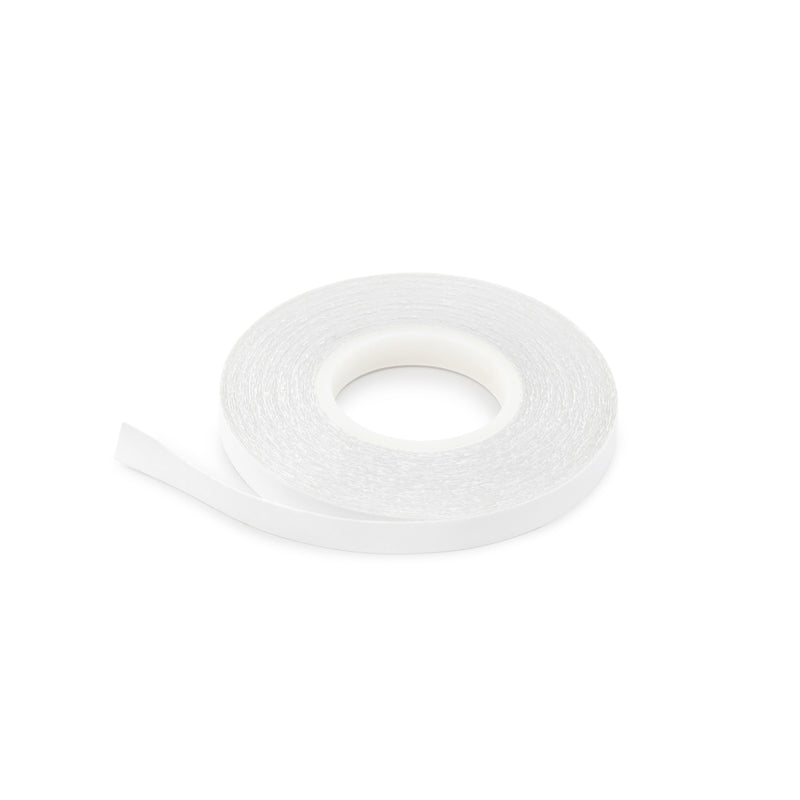
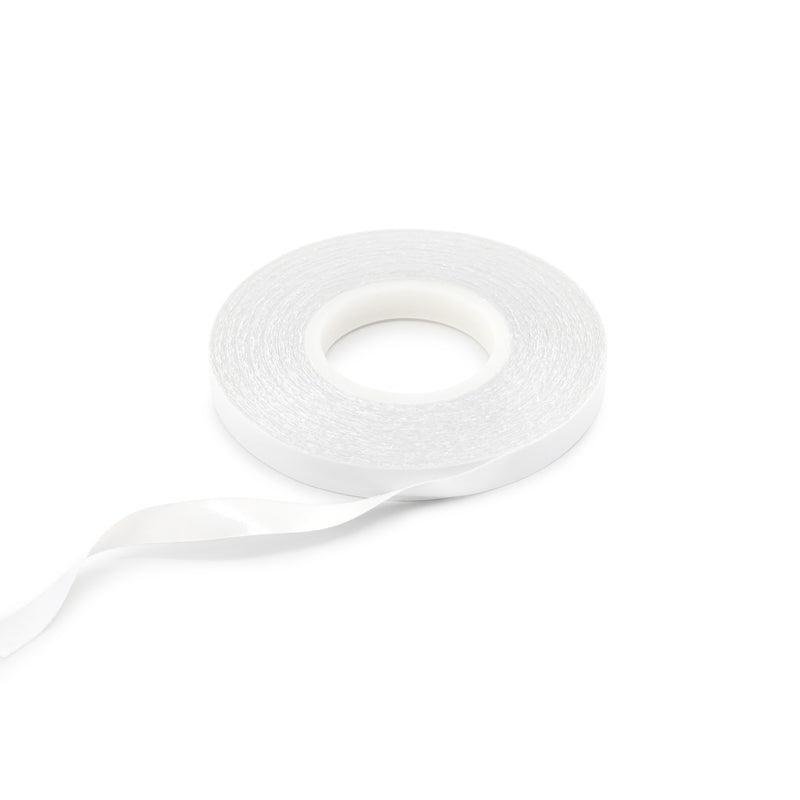
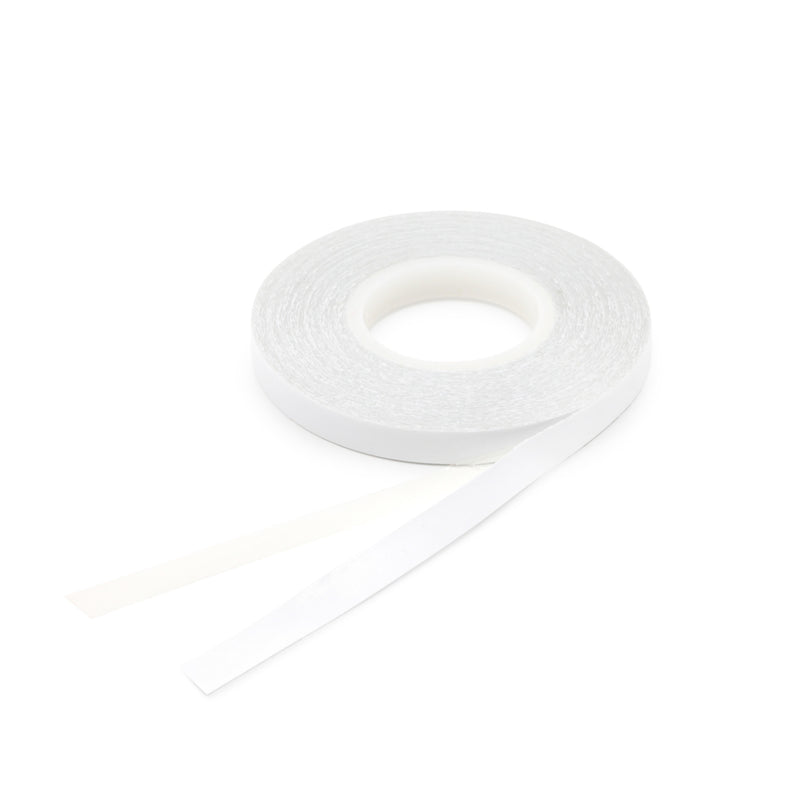
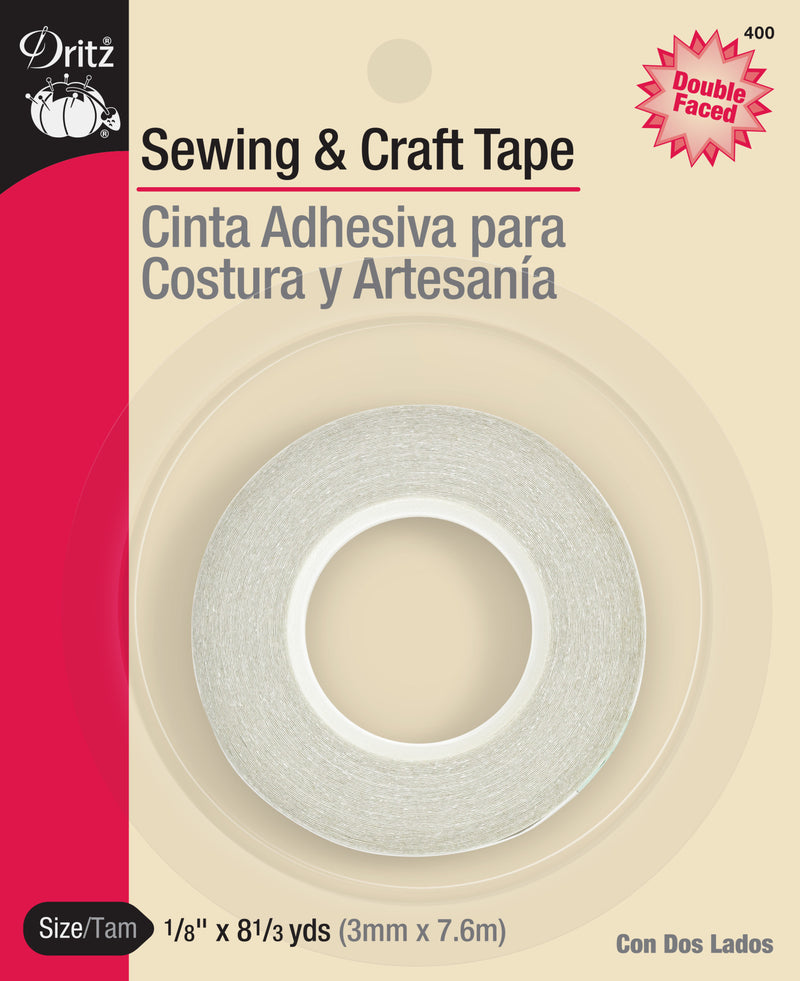
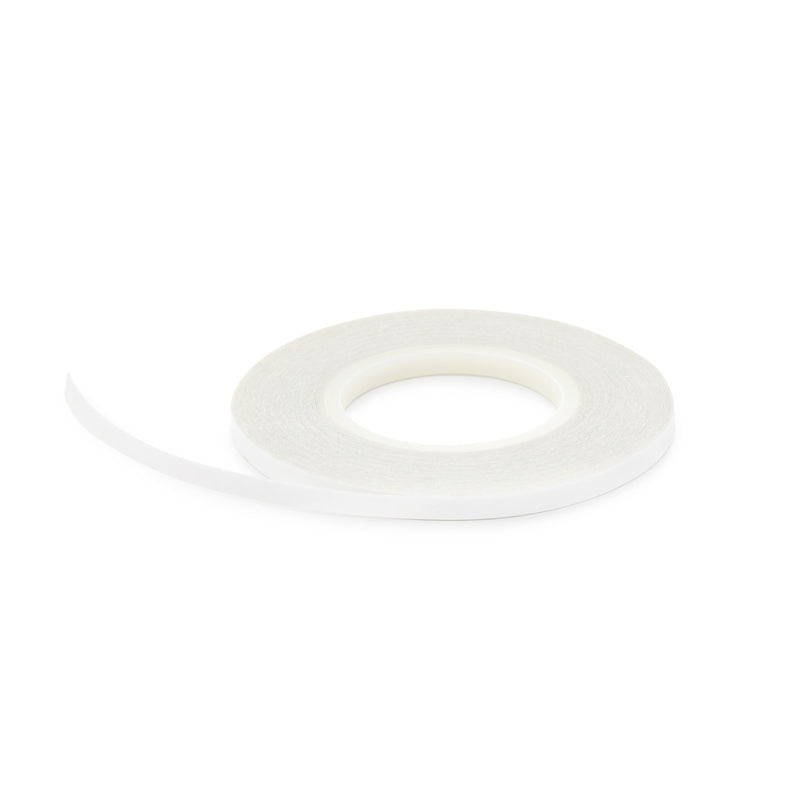
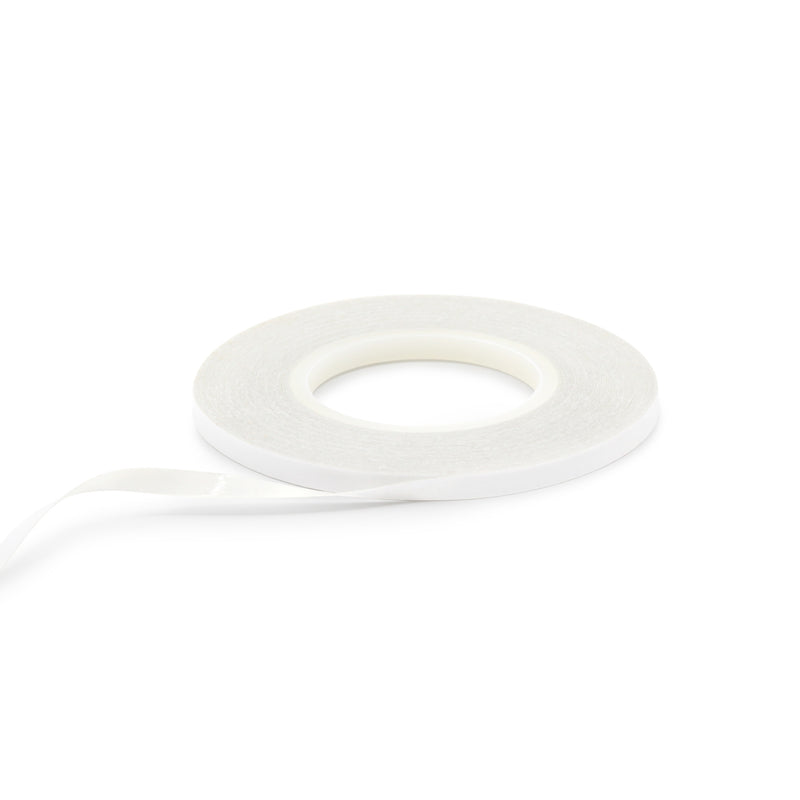
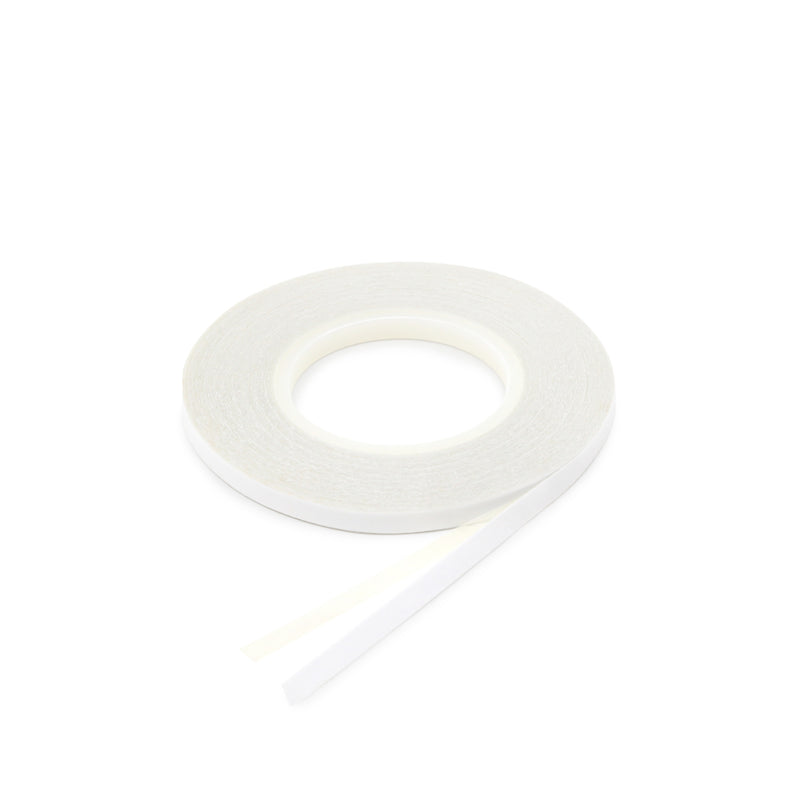
Cargue la imagen en el visor de la galería, 402|Dritz 1/4" Double Faced Sewing & Craft Tape, White, 11-1/3 yd
Cargue la imagen en el visor de la galería, 400|Dritz 1/8" Double Faced Sewing & Craft Tape, White, 8-1/3 yd
Vendedora Dritz

Cinta Adhesiva de Costura y Manualidades de Doble Cara, Blanca

Precio regular $5.79
Precio de venta $5.79 Precio regular $5.79
Rebaja Vendido
Precio unitario
/por 
Registrate para precios al mayor.
Texto previo al pedido
Descripción
Dritz Sewing & Craft Tape es ideal para un hilvanado rápido, ¡eliminando la necesidad de alfileres! Esta cinta de doble cara es perfecta para reparaciones temporales en dobladillos y costuras o para colocar hombreras para los ajustes.
  • Cinta de costura y manualidades de doble cara
  • Ideal para hilvanados rápidos sin alfileres
  • Colocar hombreras para los ajustes
  • Úselo para reparaciones temporales en dobladillos y costuras
402|Dritz 1/4" Double Faced Sewing & Craft Tape, White, 11-1/3 yd
400|Dritz 1/8" Double Faced Sewing & Craft Tape, White, 8-1/3 yd
Cargue la imagen en el visor de la galería, 402|Dritz 1/4" Double Faced Sewing & Craft Tape, White, 11-1/3 yd
Cargue la imagen en el visor de la galería, 400|Dritz 1/8" Double Faced Sewing & Craft Tape, White, 8-1/3 yd

Overall rating: 5.0 / 5 from 1 reviews.

AI Generated Review Summary

Summary topics

Review topics: [].

Review highlights

Reviews

Absolutely love this product. Helps

"Absolutely love this product. Helps so much with my crafting."

Allene R. (5/5)

Q&A

How long should I iron on the bonding web
Here are few tips for successfully using Stitch Witchery: 1. Make sure your fabric or garment has been washed and is free of fabric softeners, starch, etc. These can inhibit the fabric surface from accepting the fusible webbing. 2. Preheat your iron to a “wool” steam setting. Prepress the area in which you want to fuse. 3. In hems and larger areas, it is easier to cut smaller lengths of Stitch Witchery and fuse it in multiple pressings. This will keep any excess from getting on the iron’s soleplate as well as keeping the webbing strip in the proper position. 4. Using a damp press cloth over the area is recommended. It is also important to remember that if your specific fabric is not suitable for the heat from a wool setting, you must use a press cloth to protect the fabric from damage. 5. You will need to press the area for 10 seconds. Pressing is using an up and down motion. You will need to position the iron flat on the area and apply pressure. Do not move the iron in a back-and-forth motion. 6. Once you have completed fusing the webbing, press from the opposite side for a few seconds. This will ensure the heat has penetrated both fabric sides. 7. Allow the bond to cool completely. If you notice it is not a complete bond, repeat the pressing process.